Planting California Native Plants in October: Timing and Moisture
October can be a useful time to plant California natives, but the calendar alone does not tell you when conditions are right. Lingering heat, dry soil, heavy clay, and the timing of fall rain all affect whether new roots can get established. The key is to plant when temperatures are easing, then keep the root ball moist enough to grow without leaving it waterlogged.
Why October Can Work for California Native Plants
Fall planting gives many California native plants a chance to develop roots while weather is cooler and evaporation is lower than during summer. If rain arrives, it can help maintain soil moisture. But October is not automatically a cool, wet planting month everywhere in California: inland heat can linger, some soils remain dry, and the first useful rain may come later.
Think of fall as a potential planting window rather than a fixed deadline. A plant put in the ground during a hot, dry spell may need close attention even if it is a native species. A plant set into cold, saturated soil may also struggle. The best time is when the plant, soil, and forecast are all reasonably favorable.
What fall planting can offer
New roots need moisture and time to grow into the surrounding soil. Cooler weather can reduce water loss from leaves and soil, giving a plant a better chance to establish before the next period of intense heat. Fall planting may also let roots begin growing before the plant faces its first full summer in the garden.
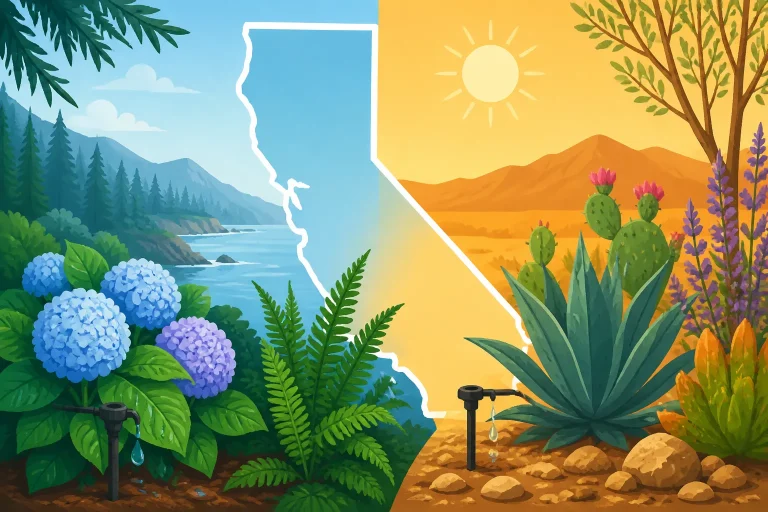
The benefit depends on the site and plant. Coastal areas, inland valleys, deserts, foothills, and higher elevations do not share one October pattern. Even two yards in the same town can differ: a sunny wall may stay hot long after a shaded bed cools, while a low spot may hold water that drains quickly from a slope nearby.
Choose planting dates using local conditions, not a single statewide rule. For a broader overview of fall timing, see October Native Planting Guide for California Home Gardeners. For practical notes on watering after installation, Establishing California Natives in Fall: Initial Watering Rules can help you think through the first weeks.
October is a transition, not a guarantee of rain
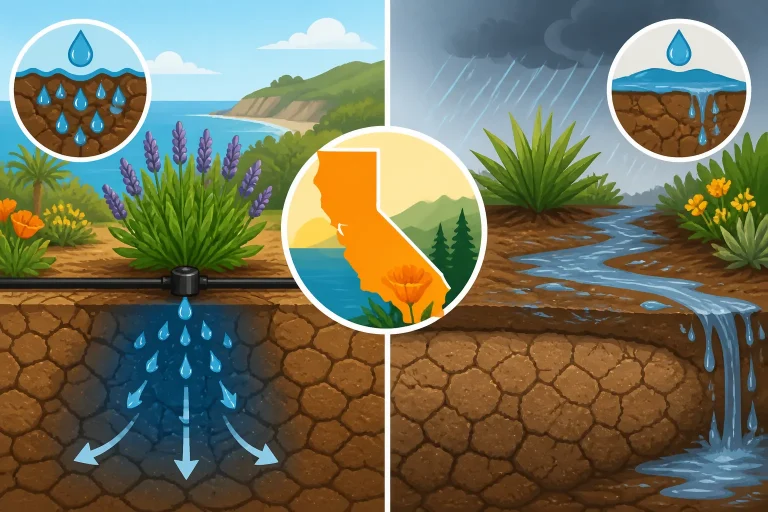
A forecast that mentions rain is useful, but it does not necessarily mean the root zone will stay moist. A brief shower can wet the soil surface while leaving a nursery root ball dry. Rain may also run off compacted or sloping ground rather than soaking in. After a storm, check the soil around the plant instead of assuming irrigation is no longer needed.
If the weather remains hot and dry, you can still plant in October, but the work becomes more demanding. Plant during a cooler part of the day, water the root ball and surrounding soil thoroughly, and check moisture often while the plant establishes. If you cannot provide that follow-up care, waiting for cooler conditions may be the more reliable choice.
Match the planting window to the plant and place
“California native” describes a plant’s relationship to a broad region, not a promise that it will thrive in every California yard. A species native to a coastal habitat may not be a good fit for an exposed inland site. A plant adapted to well-drained slopes may decline in a persistently wet planting pocket.
Before buying or planting, check the plant’s expected mature size, preferred sun exposure, drainage, and moisture needs. Also consider whether the plant is locally appropriate. Finding Native Plants Adapted to Your Specific California Microclimate and Matching California Native Plants to Sun, Soil, and Slope offer useful ways to narrow the choice.
Decide Whether Your Site Is Ready
A suitable planting day is only part of the decision. Look at the conditions around the planting hole and at the plant itself. A healthy, well-rooted nursery plant in a suitable location has a better start than a stressed plant installed in poor soil during unsuitable weather.
Read the weather and the soil together
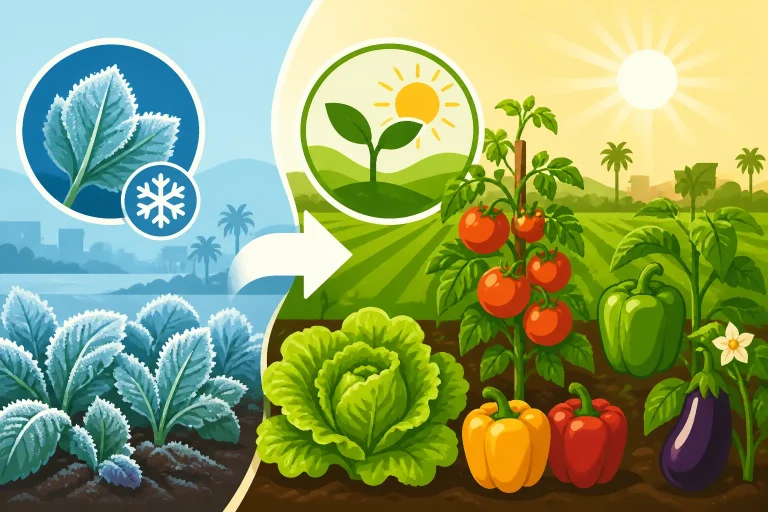
Check the forecast for more than rain. A stretch of hot, dry weather can increase water needs, while a cold snap or strong wind can stress a newly planted specimen. At higher elevations and colder inland locations, fall conditions can shift quickly. Do not assume that the warmth of one afternoon means nights will stay mild.
Then check the soil where the roots will go. Soil that is dry and hard may be difficult to work and may not accept water readily. Soil that is saturated, sticky, or puddled may lack the air roots need. Aim for soil that can be dug without crumbling into dust or smearing into a dense, wet mass.
If the surface is dry, look below it. The top layer can dry quickly even when there is moisture deeper down; the reverse can also happen after a light shower. Use a trowel to inspect the soil near the planned root depth. This simple check is more useful than relying on the surface appearance alone.
Account for heat, wind, and exposure
A plant in afternoon sun may experience more stress than one receiving morning sun, especially if the planting area reflects heat from paving, walls, or gravel. Wind can dry foliage and soil faster. A sheltered site may be easier for a new plant, but shelter should not come at the cost of poor air circulation or unsuitable light.
When conditions are still warm, avoid planting during the hottest part of the day. Keep the root ball shaded until you are ready to plant, and do not let it dry while you prepare the hole. If the site is exposed, consider temporary protection from harsh sun or wind while the plant settles in. Protection should not trap heat against the plant or block the light it needs long-term.
If a heat wave or unusually warm spell is forecast, postpone planting when possible. If delay is not practical, prioritize careful root-ball watering and frequent moisture checks. Why Drought-Tolerant Plants Die in California Gardens explains why even plants adapted to dry conditions can fail when establishment care or site conditions are mismatched.
Check the plant before bringing it home
Choose plants with healthy foliage and stems, and inspect the container and root ball. Roots should hold the potting mix together without forming a dense, circling mass that is difficult to loosen. A root-bound plant can be harder to establish, though some roots may be gently loosened when planting.
Avoid choosing a plant that is severely wilted, badly damaged, or already declining unless you know how to address the problem. A plant may be temporarily dry, but persistent wilting, discolored leaves, or soft, damaged roots can indicate more serious stress.
If the potting mix is very dry, water the plant before planting and allow excess water to drain. A dry root ball can repel water, so water it slowly until the mix is evenly moist. Do not leave the container sitting in standing water while you work.
Choose and Prepare a Suitable Planting Spot
Good planting technique cannot compensate for a poor match between plant and site. Start by deciding where the plant will have the right amount of sun, drainage, and room as it matures. Then prepare the soil without creating a small pocket that behaves differently from the surrounding ground.
Check light, drainage, and room to grow
Observe the site over the day if possible. “Full sun” on a plant label may be difficult to provide in a yard shaded by buildings or mature trees. Conversely, a bright wall or paved area can make a sunny spot hotter and drier than an open bed. Match the plant’s needs to the actual conditions, not just the direction the garden faces.
Drainage matters just as much. Watch where rainwater flows and where it collects. A low spot that stays soggy may not suit a plant that needs good drainage. A raised or sloping location may dry quickly and need more attention during establishment. If you are unsure how the soil behaves, observe it after irrigation or rain before committing a plant to that location.
Allow enough space for mature size. A small nursery plant can become a broad shrub or tree, and crowding can make future pruning and irrigation more difficult. Keep the plant away from places where its mature roots, branches, or water needs could create conflicts. For sites with heavy clay, California Native Plants That Tolerate Heavy Clay Soil may help identify plants with a better chance of fitting those conditions.
Avoid overcorrecting the soil
Many native plants do best when their roots grow into soil that resembles the conditions they are adapted to. Adding a large quantity of a different soil or organic material only to the planting hole can create a distinct pocket. Water may move through that pocket differently from the surrounding ground, leaving the root ball too wet or too dry.
Instead of automatically amending the hole, first determine whether the plant suits the existing soil. Loosen compacted ground around the planting area where practical, and break up hard clods without pulverizing wet soil. If the soil drains poorly, a different planting location or a plant suited to those conditions may be a better solution than filling one hole with a special mix.
Heavy clay deserves particular attention. It can hold moisture for a long time, yet become hard and difficult for new roots to penetrate when dry. Do not plant into saturated clay or water heavily without checking drainage. For details on choosing plants and working with that soil type, use California Native Plants That Tolerate Heavy Clay Soil alongside a direct check of your own site.
Prepare before removing the plant from its pot
Gather the tools and finish digging before taking the plant out of its container. Make a hole broad enough to accommodate the root ball without forcing or bending the roots. The hole should not be deeper than the root ball, so the plant does not settle below its original soil level.
Loosen the sides of a glazed or compacted planting hole, especially where the soil has been dug into smooth, slick walls. A roughened surface gives roots a route outward. Avoid digging or working wet soil if doing so smears the sides and compacts the planting area.
Have water ready. Planting efficiently reduces the time roots are exposed to air and sun. If several plants are being installed, complete one plant at a time rather than leaving multiple root balls uncovered.
Plant Carefully and Set the Root Ball at the Right Level
Planting depth is important. A root ball set too low can remain wet around the stem or crown, while one set too high may dry out quickly. Use the top of the root ball as your reference, and keep the plant at roughly the depth at which it grew in its nursery container.
A reliable planting sequence
- Water the plant in its container if the potting mix is dry. Let excess water drain while you prepare the site.
- Dig a hole no deeper than the root ball and wider than it, so the roots can be positioned without crowding.
- Slide the plant from the container while supporting the root ball. Do not pull the plant out by its stem.
- Inspect the roots. If they are tightly circling the outside, gently loosen the outer roots. Avoid tearing the root ball apart.
- Place the plant in the hole with the top of its root ball level with the surrounding soil. Adjust the hole rather than burying the stem or crown.
- Backfill with the soil removed from the hole, unless a qualified local recommendation for that particular plant and site indicates otherwise. Firm it gently to remove large air gaps without packing the soil hard.
- Water slowly so the root ball and the nearby soil become moist. Check that water is soaking in rather than running away.
- Add mulch if appropriate, keeping it away from direct contact with the stem or crown.
- Check the soil again after planting and in the days that follow. Adjust care to the weather and the soil’s drainage.
Handle roots with care
Container plants sometimes develop roots that circle around the pot. If they remain tightly wound, they may continue growing around the root ball rather than outward. Gently teasing apart the outer roots can help them make contact with surrounding soil. If roots are severely congested, the plant may be difficult to establish; selecting a healthier specimen is often the easier option.
Do not shake all the potting mix away from the roots. The plant’s roots are adapted to that medium, and stripping it can cause unnecessary damage. The goal is to encourage outward growth while keeping most of the root ball intact.
Backfill without creating a basin by accident
Fill the space around the root ball gradually. Large air pockets can leave roots without good soil contact, but stomping the soil down can compact it. Use your hands to settle the soil lightly, then water and allow it to settle naturally.
A shallow watering rim can help direct water toward the plant where the ground slopes or water tends to run off. It is not a substitute for checking where moisture goes. If water ponds for a long time, the site may drain too slowly or the watering may be too heavy for the soil to absorb.
Mulch with room around the plant
Mulch can reduce surface evaporation and help moderate soil temperature, but it should not be piled against stems or crowns. A thick, wet layer touching the plant can keep the base too damp and hide problems. Keep the immediate stem area clear, and choose mulch suited to the plant and the landscape.
Mulch should not be treated as a watering replacement. It slows drying at the surface, while the root ball can still become dry or remain saturated depending on the site. For material and placement considerations, see Mulching California Native Plants: What to Use and What to Avoid.
Water for Establishment, Not by the Calendar
The most common watering mistake is using a fixed schedule without checking the root zone. A new plant needs enough water for its roots to remain moist and grow into surrounding soil. It also needs air in the soil. Repeated watering while the ground is already wet can be as harmful as allowing the root ball to dry.
Water the root ball and the surrounding soil
At planting, water slowly enough to moisten the root ball and soil around it. The nursery mix and garden soil may absorb water at different rates, so check both. If water runs off before soaking in, pause and apply it more slowly. On sloping ground, multiple gentle applications may help more than one fast pour.
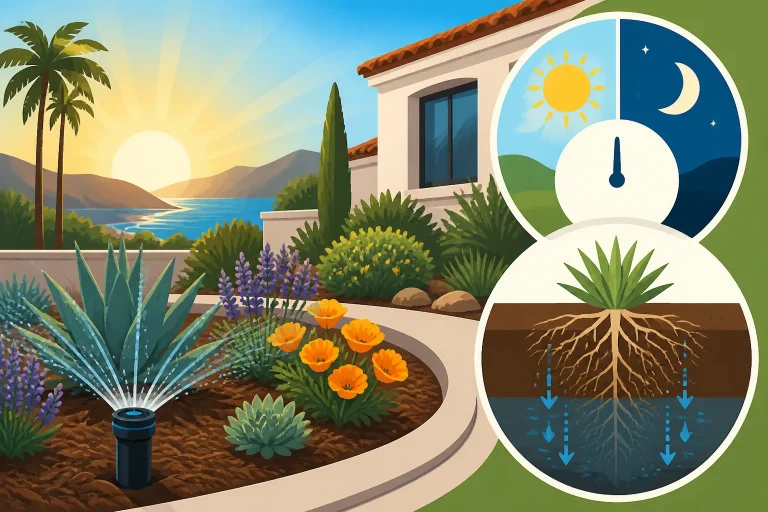
For the first weeks, inspect the soil near the root ball regularly. Feel the soil below the surface rather than judging only by the dry or wet look of the top. If it is still moist at root depth, wait and check again later. If it has dried, water thoroughly and then allow the soil to drain before the next check.
There is no single watering interval that fits every October planting. A small plant in a pot-sized root ball, a large shrub, a sandy bed, and a clay-heavy site will not dry at the same pace. Sun, wind, recent rain, slope, mulch, and plant type all change the answer.
Adjust to soil texture and drainage
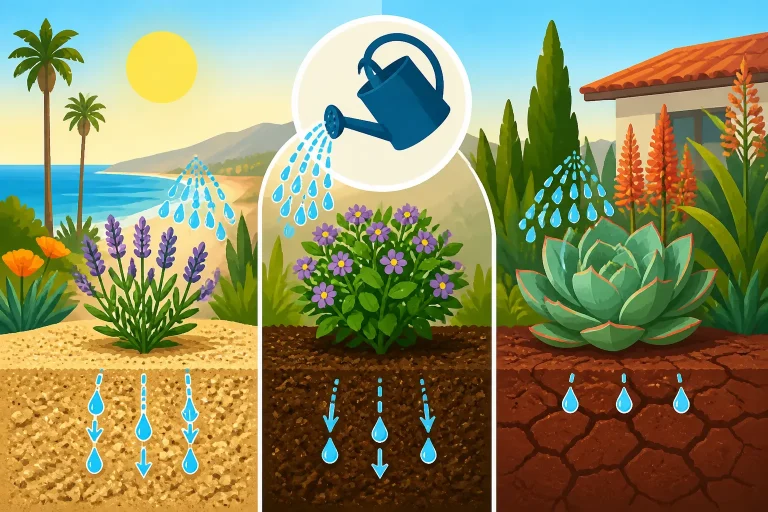
Sandy soil usually drains more quickly than heavy clay, but the actual pattern depends on the yard. Water may pass through coarse soil quickly, while clay may absorb it slowly or shed it when dry and compacted. A plant’s root ball can dry even when surrounding clay remains wet.
Apply water at a pace the soil can absorb. If runoff begins, stop and let the water soak in before applying more. If the soil remains soggy, reduce watering and reassess drainage. Avoid interpreting wilting alone as proof that a plant needs more water; root problems, heat, transplant stress, and saturated soil can all produce wilted foliage.
Newly planted plants should not be left to fend entirely for themselves simply because they are native. Their roots are still confined to a relatively small volume of soil. As roots expand and the plant becomes established, the pattern of care can change. How Much Water New California Shrubs Need in Year One provides additional context for following plants beyond installation.
Let rain help, but verify what it did
After a rain, check below the surface near the root ball. A light shower may dampen only the upper soil. A stronger storm may wet the planting area thoroughly, but runoff can leave a nearby root ball relatively dry. Do not water automatically after every rain, and do not assume the rain has supplied enough moisture without checking.
If a storm leaves soil saturated, wait for it to drain before adding irrigation. New roots need oxygen as well as moisture. In a poorly drained spot, repeated watering can create a long period of wet soil that is difficult for some plants to tolerate.
Gradually reduce help as roots establish
As the plant grows, its roots should reach beyond the nursery root ball. Continue checking the soil, but avoid keeping the entire planting area constantly wet. The aim is to encourage healthy root growth in the surrounding soil, not to create dependence on frequent shallow watering.
Do not stop irrigation abruptly just because the weather has turned cooler or the plant has survived several weeks. Establishment takes longer than the first flush of new leaves. At the same time, do not continue watering on a schedule when rain or naturally moist soil makes it unnecessary. Adjust based on observations of the root zone and the plant’s condition.
Common October Planting Problems and How to Respond
When a new native looks unhappy, look for more than one possible cause. Water stress, transplant shock, unsuitable exposure, poor drainage, and damage to roots can resemble one another. A quick diagnosis helps avoid making a difficult situation worse with extra irrigation or pruning.
Wilting after planting
Some wilting can happen after transplanting, particularly during warm, windy weather. First check moisture at the root ball. If it is dry, water slowly and check whether the water is reaching the roots. If the soil is already wet, adding more water may worsen the problem.
Look at the planting depth and the site exposure as well. A root ball placed too high may dry rapidly; one buried too deeply may stay wet around the crown. If the plant is exposed to reflected heat or strong wind, temporary protection from the harshest conditions can help while it adjusts. Do not make drastic changes based on one afternoon of drooping; check again when temperatures are cooler.
Yellowing or leaf drop
A newly planted plant may lose some leaves as it adjusts, especially if it was moved from a protected nursery setting. But widespread yellowing or continued decline deserves a closer look. Check soil moisture at root depth, drainage, planting depth, and whether the plant is receiving the light it needs.
Avoid responding to leaf color with fertilizer unless a specific diagnosis supports that action. Excess nutrients can create problems, and symptoms may have causes unrelated to nutrient supply. If the pattern continues or you cannot identify the issue, a local plant diagnostic service can help interpret the symptoms.
Water pooling or soil staying wet
If water stands around the plant, pause irrigation and observe how long the soil remains saturated. Check whether the planting hole is acting like a basin, whether the ground is compacted, and whether water is arriving from a roof, slope, or irrigation system. Repeatedly adding water to wilted foliage without checking the soil can worsen root stress.
A wet planting area may call for moving the plant to a better-drained location or choosing a species suited to those conditions. Avoid digging and restructuring saturated clay; working it while wet can compact it further. For advice on fall watering decisions, California Fall Watering: When to Cut Back and When to Wait for Rain provides a useful framework.
Dry root ball after rain
A nursery root ball can dry at a different rate from the surrounding soil. This is especially important when the surrounding soil is clay-rich and stays damp, or when the root ball is a coarse potting mix that sheds water. Check moisture in the root ball itself and apply water slowly if it is dry.
When irrigating, direct water toward the plant’s original root ball and the adjacent soil. As the plant establishes, expand the watered area gradually so new roots have access to moisture. Do not rely on a sprinkler pattern that misses the plant or wets only its leaves.
Planting too late for the site
A late planting may still succeed, but the available time for root growth before colder or drier conditions varies. Consider the plant’s needs, local weather, and the care you can provide. At higher elevations or in colder locations, an October planting may face different conditions from one in a mild coastal yard.
If planting conditions are not suitable, keeping the plant in its container temporarily may be an option, provided it can be cared for properly. Container soil can dry quickly, and roots may be exposed to temperature swings, so waiting is not automatically safer. Choose the option that lets you maintain the root ball’s moisture and protect the plant until it can be installed.
A Practical Checklist Before and After Planting
A short checklist can prevent the most common errors: choosing a poorly matched plant, planting into unsuitable soil, setting the root ball too deep, and watering without checking moisture.
Before planting
- Confirm that the plant suits the yard’s light, drainage, soil, and climate.
- Check mature size and leave room for future growth.
- Look at the forecast for heat, wind, rain, and cold conditions.
- Inspect soil below the surface, not only the top layer.
- Water a dry container root ball and let excess water drain.
- Prepare the hole and have water and mulch ready before removing the plant from its pot.
- Avoid working soil that is saturated or smearing.
During planting
- Keep the root ball intact and handle the plant gently.
- Loosen circling outer roots if needed.
- Set the root ball at its original soil level.
- Backfill without heavily compacting the soil.
- Water slowly and confirm that moisture reaches the root ball.
- Keep mulch away from the stem or crown.
After planting
- Check soil moisture near the root ball regularly.
- Water when the root zone is drying, rather than following a rigid calendar.
- Account for rain, sun, wind, soil texture, and drainage.
- Pause irrigation when soil is saturated.
- Watch for settling that leaves the root ball buried or exposed.
- Adjust care as roots expand and conditions change.
| Site or condition | What to check | Practical response |
|---|---|---|
| Warm, dry weather | Root-ball moisture and afternoon exposure | Plant during a cooler period, water thoroughly, and check often |
| Light rain | Moisture below the surface | Verify that rain reached the root ball before skipping irrigation |
| Heavy clay | Drainage and how long soil stays wet | Avoid saturated planting conditions and choose plants suited to the site |
| Sandy or fast-draining soil | How quickly the root ball dries | Check more often and apply water slowly enough to soak in |
| Sloping ground | Runoff and whether water reaches the roots | Use slow applications and confirm moisture below the surface |
| Cold or exposed site | Forecast and exposure to wind | Consider postponing or protecting the plant if conditions are unsuitable |
| Unknown microclimate | Sun, shade, wind, and soil differences around the yard | Observe the site and choose a plant for the actual planting spot |
Frequently Asked Questions
Is October always the best month to plant California native plants?
No. October can offer cooler conditions and the possibility of fall rain, but weather varies across California and from year to year. Plant when the soil and forecast are suitable for the plant, and when you can provide follow-up care.
Should I wait until the first rain to plant?
Not necessarily. Rain can help, but a first shower may not wet the root zone deeply, and the soil may dry afterward. You can plant before rain if conditions are appropriate and you can water the plant. After rain, check the soil rather than assuming irrigation is no longer needed.
How often should I water a newly planted native?
There is no reliable interval for every plant and yard. Check moisture near the root ball and nearby soil, then water when the root zone is drying. Soil type, plant size, exposure, wind, and rainfall all affect how quickly it dries.
Can I plant a California native in heavy clay?
Some plants can suit clay, but not every native tolerates slow drainage. Check the plant’s soil needs and inspect how water behaves at the site. Do not assume that adding a different soil to the hole will solve a drainage problem.
Should I add fertilizer when planting?
Do not add fertilizer automatically. A plant’s needs depend on its species and site, and fertilizer is not a remedy for poor drainage, transplant stress, or incorrect watering. Follow a specific, reliable recommendation for the plant if one is available.
Disclaimer
This article is for general informational purposes only and does not constitute professional advice. Laws, prices and regulations vary by location and change over time. Consult a qualified professional for guidance on your specific situation. California Gardening Guide is not a government agency and is not affiliated with any university extension, state department of agriculture or other government agency.